So we left off at the end of part 1 with me having sprayed the 4 parts (Turret, sponson x 2 and main body) black. The next thing I did (after allowing the spray to dry of course) was to spray it again. This time I used AP Plate Metal Spray. Once that coat was dry I covered all the parts with GW Wash Devlan Mud to dull down and darken the color as I thought it looked too bright. I then moved onto the sponsons. I highlighted the edges using GW Mithril Silver and painted the cables GW Foundation paint Mordian Blue. The "Dragon" ends of the weapons along with the skull and the cable connectors were painted GW Dwarf Bronze. Once they were dry I finally stuck them onto the Main Body.
The Turret came next again I highlighted the edges with GW Mithril Silver the spotlight I painted GW Foundation Illyandun Darksun and highlighted it with GW Sunburst Yellow the wire cage was Drybrushed GW Mithril Silver. The other lights were painted GW Foundation Merchrite Red and highlighted Blazing Orange. The lascannon got the same treatment as the sponson ones, the hatch was painted GW Chaos black and the Chaos star on it was painted GW Dwarf Bronze. Finally the battery pack was painted GW Chaos Black and the indicator lights were painted GW Putrid Green (This color is not available any more so GW Scorpion Green can be used instead)
The main body came next. The tracks were first painted GW Tin Bitz followed by a drybrush of GW Boltgun Metal. I then painted the details (Viewport rims & chaos stars) GW Dwarf Bronze. The front Panels and the rear spikes were painted GW Chaos Black and once dry the tips of the spikes were painted GW Boltgun Metal. Finally I painted the skulls on the rear door GW Foundation Dneb Stone. Once all the paint was dry I then applied the waterslide transfers (Decals) to the top and side of the main body and covered them with GW 'ardcoat Gloss Varnish to hold them in place.
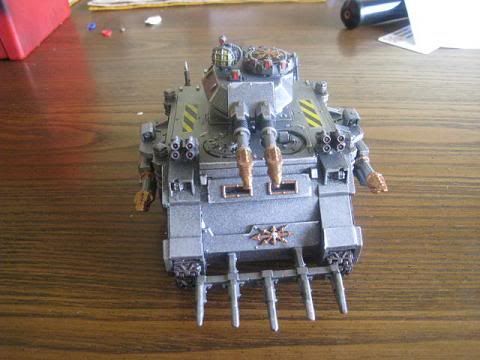
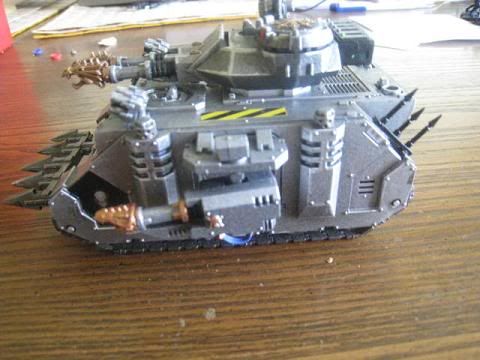
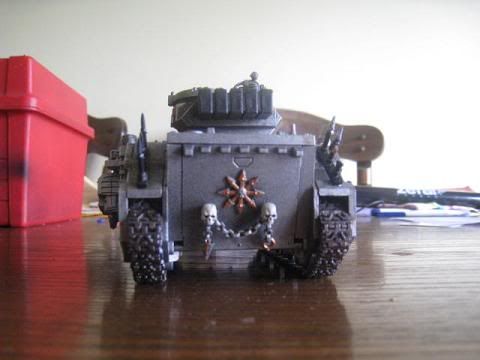
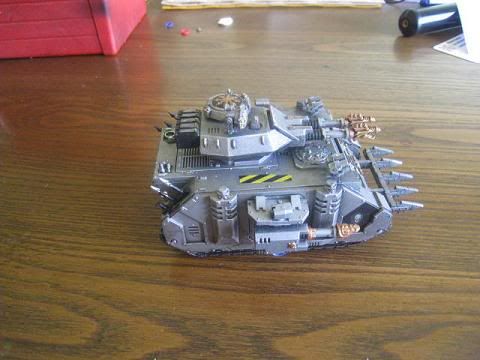
Here are the pictures of the finished tank.

Front

Side

Rear

Other Side
Till next time
KD
No comments:
Post a Comment